
Support. We’re here to help.
Ready, set, go! Let's get started.
Set up new equipment, track orders, and activate your My Virgin Media account.
I need help with:


Save time and sign in.
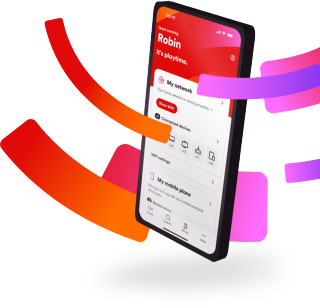
Your My Virgin Media account gives you the access you need to manage your products, pay your bills and get support, making things so much simpler! Just sign in online or in the My Virginmedia app.
Don’t have an account? Sign up now.
Visit account support to find help and information.

Keep your account safe from fraud
Worried about online fraud and security or received a notification from us of an issue? Find support in the Security & Fraud Hub.

Moving home?
It’s easy with Virgin Media
Find out how to move your services from one address to another.

What's the best way to access support?
Using this page
We suggest using our online self-serve options first, as the quickest way to get any help you need.
Got technical issues or queries? Check out our support options above.
Using your My Virgin Media account
The quickest way to review your bills, make a payment, check your usage, review and make changes to your account is to use your Virgin media account, and it's available to all customers.
You can do this in My Virgin Media or download the My Virginmedia app from the Apple or Play Stores.
Don’t have an account? Sign up now.
Speak to us
Can't use digital support? Don't worry! You can still get support using our online chat service, or see the Contact Us page for more options.
